Showing posts with label photography. Show all posts

Wednesday, May 19, 2010

Meg's 2 Year Photos & a Scrap Orchard goodie

Long time no post! I lost an entire week last week being sick. I started with a horrible cold on Mother's Day and then finished the week with the flu. No fun!!! I have so much catching up to do but a quick post will have to suffice for now. I recently took my niece, Megan's, 2 year photos. The lighting was not optimal and there are a few more shadows than I would have liked but with a 2 year old you are lucky to even be able to work in a photo shoot with nap time and catching them at a happy time of day so we just went with it. I think I captured some cute photos that really express her personality. Thanks for letting me share.


I also want to do a quick plug for Scrap Orchard. Seems that they were "sick" last week too. Actually they were moving to a new server and ended up being off line for several days. They are back up and running and as part of the celebration they are giving away the fabulous June Mega to all their newsletter subscribers. If you don't subscribe you may want to hurry and sign up HERE.

Wednesday, April 21, 2010

A Slideshow of my Newborn Photoshoot

I wanted to show more of the photoshoot I did of Cassydi last week and so I figured out how to make a slideshow to share. Hope you enjoy it.

Saturday, April 17, 2010

My First Newborn Photoshoot

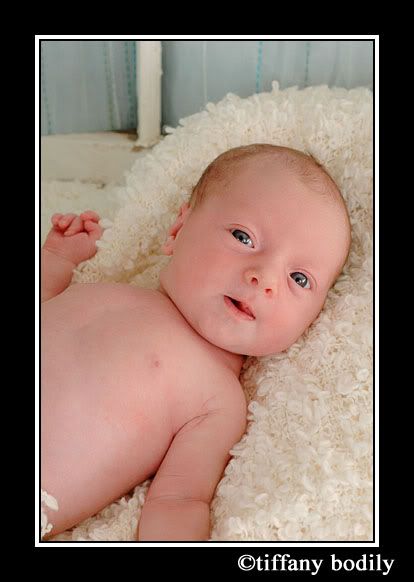
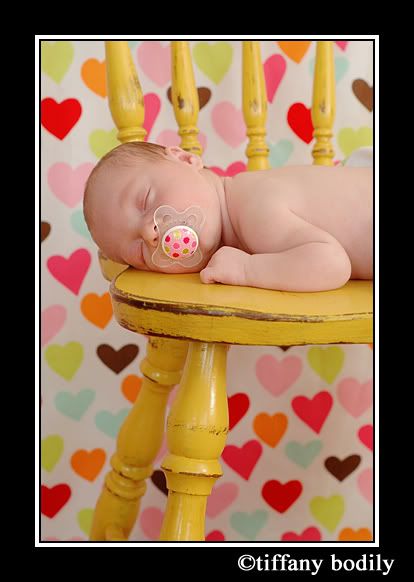
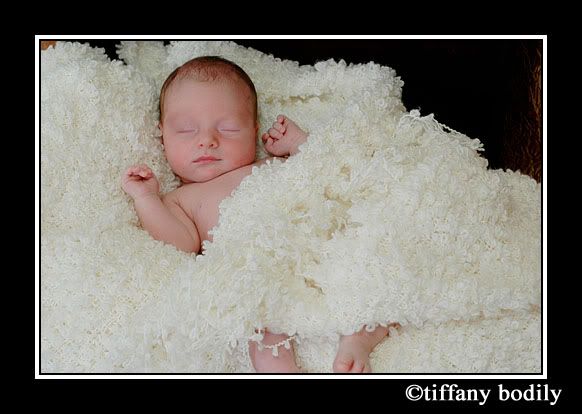
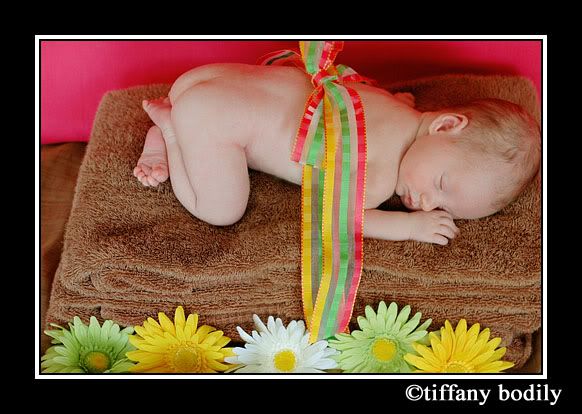
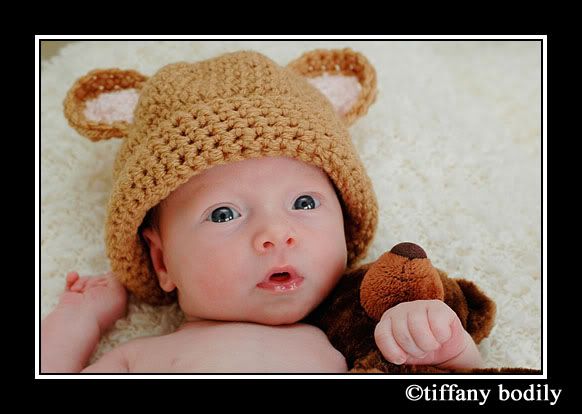
So much to do and so little time! I just noticed that my blog is still wearing a winter theme! THE SHAME!!! I don't even know when I'll have time to switch it out. I just have way to many things I want to do and never enough time to do it all. My neighbor, Teresa, asked me to help her get some newborn pictures of her sweet baby and I just couldn't pass up the opportunity to learn. I have put my kids through little photo shoots but this was my first "real" photo shoot. She was fussy and it took longer than we thought. We spent about 5 hours with set up of scenes, getting Cassy to play nice, etc. I'm sure the pros don't have to spend as much time LOL. Then today I spent a while editing and was very happy with the results. Here are just a few of my favs. Oh and.... I made the two hats. I think they are way cute so I am going to take bragging rights on them LOL.


Friday, February 26, 2010

Darn Insomnia!

So I have been up since 1 this morning. I just woke up and couldn't get back to sleep. I wasn't stressed about anything or keyed up... just couldn't get back to sleep. I think I was trying to hard to fall back to sleep. So anyway... I haven't felt too scrapbook creative today and won't get my P365 layout done today but oh well.... hopefully this weekend I will.

Another set back in getting my photos shot for P365 this week was that my battery died while I was trying to get some of my shots. That makes me so frustrated when I spend the time to set something up for photographing and then zippo on battery power. I had some Staples Rewards to use and found that online I could order a battery for my camera. Ever since I got this camera I have only had the one battery and it always dies at the most inconvenient times and then takes 3 hours to charge. So... now I can always keep a spare charged and ready to go. I am so excited!!! I also had enough rewards to order a card reader so that I don't have to drain my camera battery when I load my photos onto my computer. And one more goodie.... I got another Compact Flash card for my camera too. I am almost giddy to know that I'll have all these conveniences in a week. Whooot!!!!

Another recent purchase for my camera was a 50mm 1:1.8 lens. I am loving it! It lets in more light and makes a nice blur in the background of the subject. It is also a great choice if you are looking to get another lens because it is inexpensive - only about $100.

Friday, February 19, 2010

P365 Week 7 & some Valentine Photos

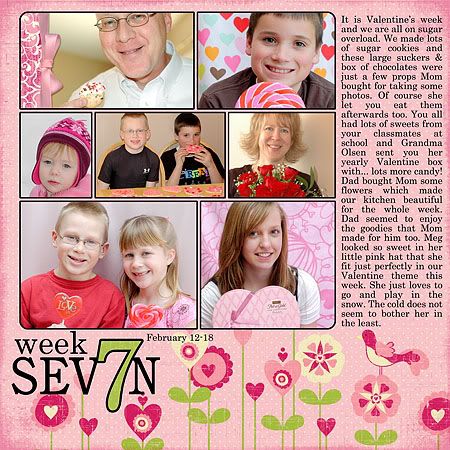
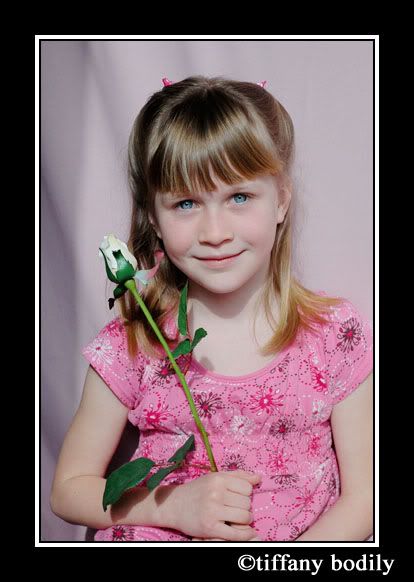
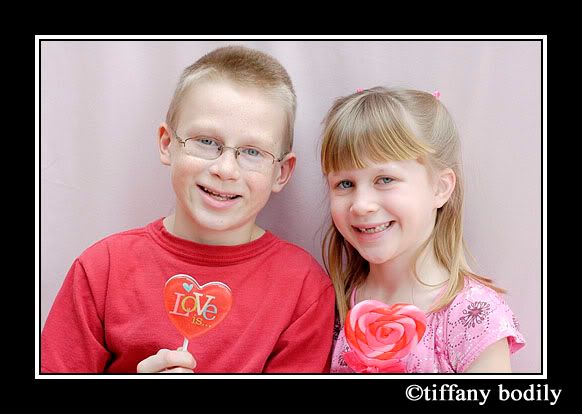
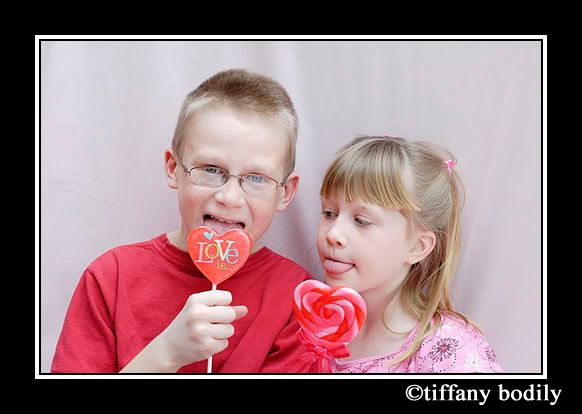
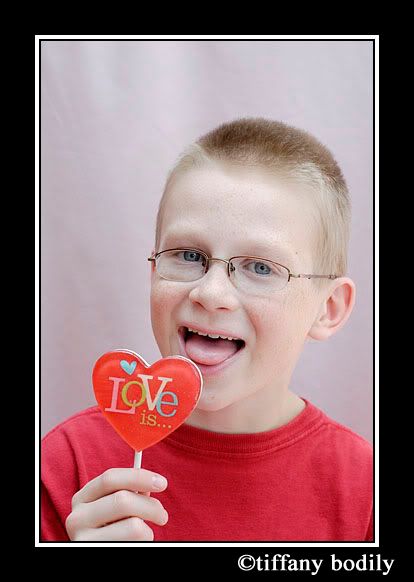
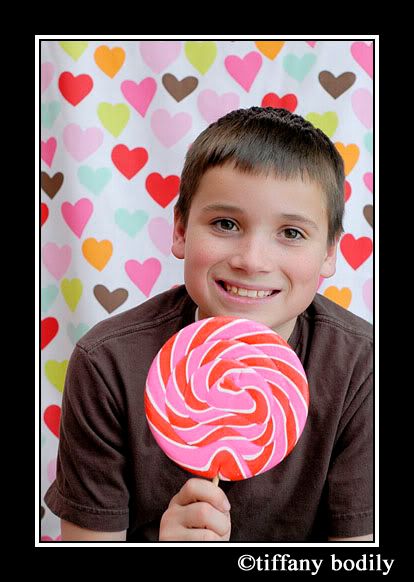
Here is my latest page for P365. I enjoyed taking some photos of the kids for Valentine's season. I set up a little home studio by turning my couch to face the big window and draping a sheet over it. I also picked up two Valentine shower curtains (who decorates their bathroom for Valentine's day?) at Target for $5 each the day after Valentine's. One had multi colored hearts (behind Morgan) and the other had large flower graphics in pink (behind Cheyenne) I think it will be fun to use the pink one for Easter shots too. Clayne was an excellent Valentine and came through with a bouquet of roses and dinner at Jaker's. Dinner was soooo good. It was a prime rib and seafood buffet. I ate LOTS of crab legs & didn't feel the least bit guilty for doing so.

Credits: all products By Carina Gardner
AFFECTIONATE-Papers, Design 365 Masks v3, Design 365 A Month of Number Stamps, O CHRISTMAS TREE-Ribbons

So like I was saying I did some photo shoots of the kids. These were some of my favs. Savannah's is taken with natural light but then Carson complained about the sun in his eyes and so I decided to try out Clayne's old flash. He used it with his manual Canon SLR and he has had it from before we married 20 years ago. I wasn't sure it would work with my Nikon D70 but what do you know - It worked and I like the results. I will definitely be playing with it some more. I was thinking I needed to by a speedlight flash but didn't want to ding our budget to purchase one. It is always nice when you find something "free" that works.


That will be all for now... I want to do some scrapping. I hope to share some of my latest pages with you this weekend. Are you enjoying the olympics? I watch them as I scrap on my laptop.

Wednesday, February 3, 2010

Photography Tips

Today I wanted to share with you a few video clips I watched over at YouTube by Erin Manning. I just requested her book at the library and look forward to learning more from her. I like her approach. There are more clips by Erin at YouTube as well so if you like these, go do a search and watch more.


Although I use my digital SLR most of the time I do sometimes still use my point and shoot and I found this clip interesting. I liked the tip for using the oil blotters over the flash as well as the tips for using sunglasses or a magnifying glass.

Wednesday, January 27, 2010

Gas, Photography & Music?

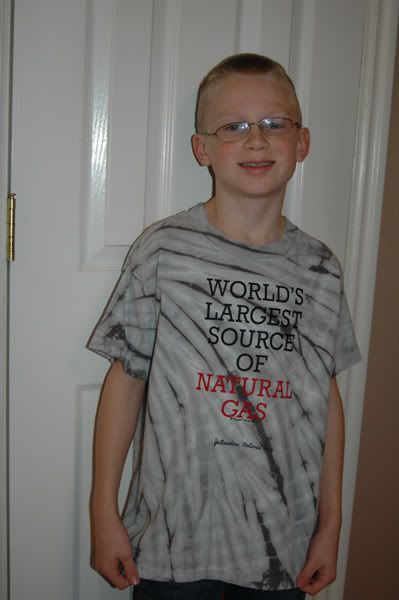
On a family vacation to West Yellowstone a while back, we visited a T-Shirt shop. Carson begged me to let him get a shirt with an iron on that said I ♥ to Fart! I decided that I didn't want him wearing that shirt to school and to family dinners - even if the statement is true of him. He is a very gassy boy. He ended up getting this shirt that says Worlds largest source of Natural Gas instead. If I had let him get the other shirt I would have put it on today and taken a picture of myself in it for this post LOL! Carson didn't want to have a photo today when I had him put on his shirt so this was as good as it gets for this post - just a snap shot.

Ok enough of that... So what is the difference between taking a photo or making a picture? When you take photos they would generally be categorized as snapshots - photos that don't have much thought put into them. Something caught your eye and you just started taking pictures. Sometimes, with a little luck, there will be a couple of photos in the lot that you will be happy with. More often though you'll be a bit disappointed, and after a few months when you come back to look at the photos, you may not even remember why you took them in the first place. As I have been browsing some books and the internet regarding photography I was drawn to an article by Ken Rockwell, FARTing: A Key to Creative Photography.

In this article Ken states, "I take my best pictures when I FART first." I'm not to sure the subject of your photo would always appreciate it if you really did fart. Don't worry though, FART is a mnemonic for a creative process.

F: Feel
A: Ask
R: Refine
T: Take

Since the article says it all so very well, I will direct you to it to read more about his advice HERE. I have been trying to think more about the photos I have been making. I find the word "make" instead of "take" interesting in photography. By using the word "make" I find that I think more about what I am photographing and why. So today I encourage you to put more thought into your photography and next time you pull out your camera don't forget to FART.

Oh and one more tid bit I'd like to share about a fun and FREE week-long class coming to Audrey's blog (One of the DHD Designers) in February -- stop by her blog and check out the details. Sounds fun to me!

Friday, January 22, 2010

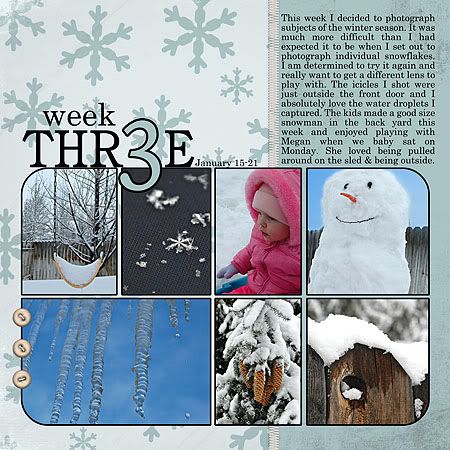
P365 Week 3 and some winter photo tips

(Credits: Design 365: January 31 Day Page Templates By Spencer Nugent, Design 365: January Pack By Spencer Nugent, ESSENTIALS-Stitches v.1 By Carina Gardner, The Day Dreams Collection - Sunset Elements By Meredith Fenwick)

This week my Project 365 photo subject was winter. Shooting photos in the winter can be a tricky thing. I found that the bright snow causes my camera to underexpose my photo. The snow often took on a hue of gray. I will be doing some more study of adjusting my white balance on my camera before I head out to the snow to shoot photos again. Here is just one tutorial I found on this subject:
Understanding White Balance.

These two articles give encouragement to get out and shoot some winter photos. I know I often prefer to do outdoor photography in the other three seasons of the year and tend to stay in the house more in the winter. There are plenty of things to photograph indoors where it is warm but I find that after a little reading and looking around on the net I may just get out and try some new things with my photography this winter.
The Beauty of Winter Photography
Dreaming Winter Photography

Now what about those photos that I was mentioning earlier.... the ones where the snow took on a gray color cast. Well... that is when I am happy to have photoshop. I am still and probably always will be in the learning phase about what this program can do.
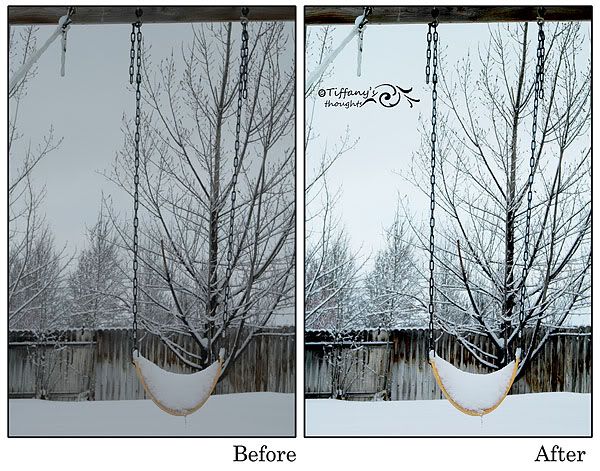

The first thing I did was added a Brightness/Contrast adjustment layer. I adjusted my brightness by 30 and set my contrast to 75. When making these adjustments it is a personal preference thing. You have to decide how far to go. If you expose the photo too much you can easily blow out detail. Sometimes I don't mind loosing a little detail if the overall look of the image is improved.
Brightness - How light or dark the picture is.
Contrast - How the brightness is distributed from the lightest to darkest parts of the picture.

Next I added an Exposure adjustment layer. I adjusted my exposure to +10, my offset to -0.0183 and my gama to 1.12 Again this is a to personal taste adjustment.
Exposure – lightens/darkens image.
Offset – adjusts shadow/highlight areas.
Gama – adjusts contrast.

Finally I added a Hue/Saturation adjustment layer where the only adjustment that I made was on the saturation slider which I increased by +25.
Hue - the color.
Saturation - how vivid the color is.
Lightness – how dark/light the color is.

If you want a more in depth look at these photoshop adjustments you can see the tutorial Fixing Exposure and Brightness. Although they don't use adjustment layers. They make the changes directly to the image. I prefer to work with layers so that I have the ability to go back into any of these adjustments and further tweak them as I go along. Using layers is what they call "non destructive photo editing." If you choose to work directly on your photo just be sure to never overwrite the original photo but save the edited photo under a different name. You never know when you may change your mind about the way you edited or your photo or when you may learn a new/better way of editing and want to try it again.

Of course how you choose to crop your photo can improve the impact of the photo as well. I like the closer crop of this photo in my Week 3 layout above better than looking at the entire image. To me there is just too much negative space in the upper left hand corner. OK... that is a wrap for me. I can't believe how much time it takes to put something like this together. Makes me appreciate all the great tutorials out there on the net even more. Have a great weekend!

Tuesday, January 12, 2010

A Photography Workshop

So... what are you doing tomorrow? I will be sitting at the computer to learn more about natural light photography. You can too. Just click the image above and then click on the "more info" tab at the top and from that menu click on "live" to view the presentation. No, I don't have any affiliation to Creative Techs but I have viewed many of their lessons on Photo Shop and have found them to be very helpful.

Natural light is both free and valuable. Rosanne Olson tells us about the delights of natural and continuous lighting – how to use what’s already available to you.

Date: Wednesday, January 13, 2010
Time: 11am Pacific (Seattle) [Other Time Zones]
Duration: 90-120 Minutes
Cost: The LIVE class is FREE to attend!

Friday, January 8, 2010

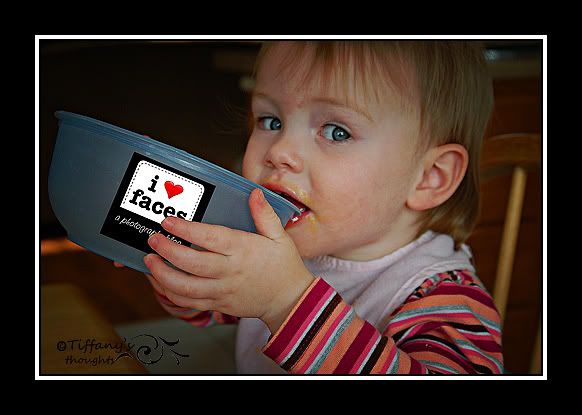
I ♥ Faces

One of my goals this year is to improve in my photography & so I decided to join a photography forum and I found a great one over at "i heart faces" I have not had as much time as I would like to go through the forums but I know that over the course of the upcoming year I will be visiting frequently to learn from the wealth of knowledge. They are celebrating their one year anniversary and are having a contest using their logo in your photos. Below you will see my entry. If you want to see more creative logo entries be sure to click on the "i heart faces" logo below.

“I am submitting this photo into the I Heart Faces logo photo contest. By entering, I am granting I Heart Faces LLC permission to consider my photo for use in the marketing and promotion of their website.” - TiffanyB

Thursday, January 7, 2010

Get in the Photo


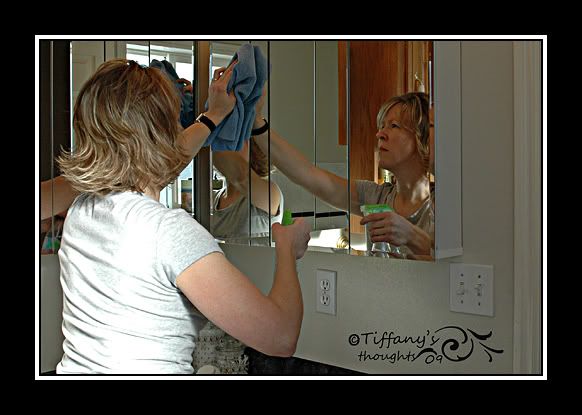
I wasn't too sure what I would be sharing this week about photography but I did notice a common thread in my photos for P365 this week. As I shared earlier, this week my photos are about my goals for this year. When I started capturing my images for my layout for this week, I noticed the need to photograph myself in many of the photos. I did have Clayne shoot one photo for me but he is usually only home at night and the lighting isn't nearly as good so I was left with the choice of having a friend come over to take my shots, leaving myself out of the shots, or trying out my self timer on my camera. I almost hate to admit that I had never used this feature on my camera and after reading the 4 short steps in my manual on how to use it I knew I had to try it out. I have to say that since I don't own a tripod I had to become pretty creative on how to set up my camera for the shots. Note to self: Pick up a tripod! (I already had decided I wanted to buy one this year but now I for sure want one.)

Maybe somewhere in the back of my mind the idea of getting in the photo was forming after browsing the email I got on Tuesday from SimpleScrapper.com They gave 9 interesting ideas for self portraits. One of which was play with mirrors. And I find that I did do this. You can read more of the article HERE. I need to create a creative team layout soon about myself so I will likely be trying more of the ideas to come up with something I like. If you want even more ideas about self portrait photography there is a great article at Digital Photography School. I think one of my photography goals for 2010 has presented itself. I think I'll be getting into more of the pictures - right after I go pick up a tripod.

Ahhh just noticed my photo stamp needs updating with the new year LOL. Guess that is something I'll add to my list of things to do.